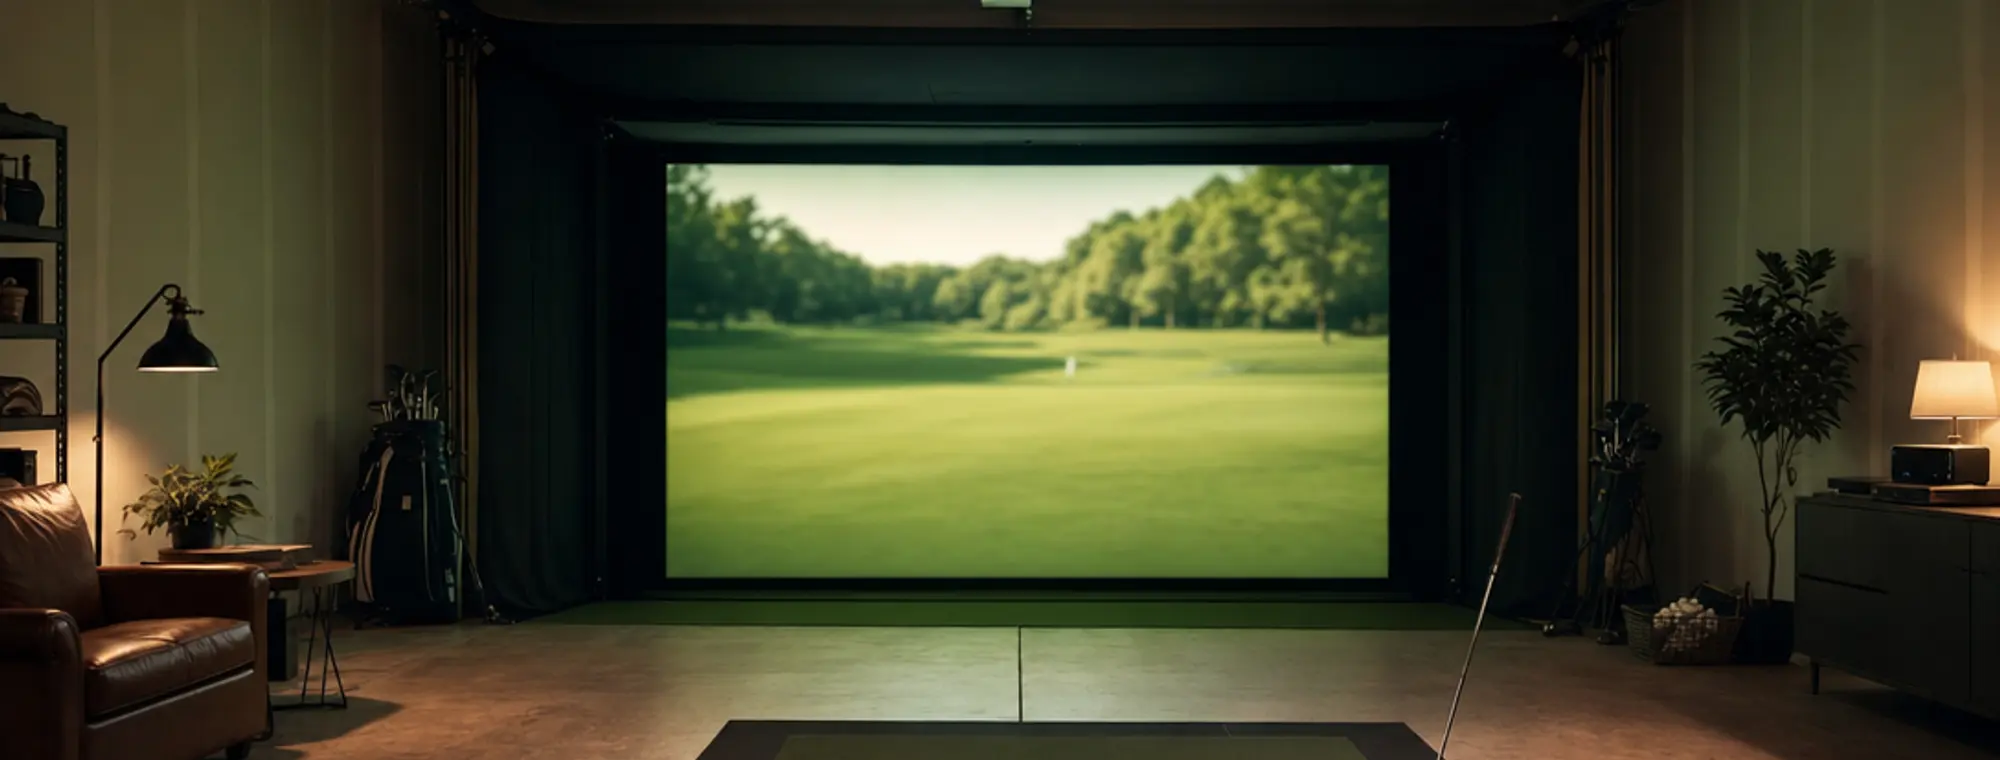
DIY golf simulator: three builds that actually work
By The Home Golfer editorial team · Last updated July 30, 2026
You can build a DIY golf simulator for about $700 or about $8,000, and the difference is mostly the launch monitor and whether you want a projected screen. But before you price a single part, the honest first question isn’t money. It’s whether your room can take a full swing. Get that wrong and the nicest gear in the world sits in a box.
Will it fit? Space first, gear second
The usual dealbreaker is ceiling height, not budget. A full driver swing wants roughly 9 to 10 feet of clearance, and plenty of garages and basements sit at 8. If that’s you, a net-only setup or a shorter-club practice routine still works, so you just skip the overhead screen. Measure all three dimensions before you buy anything.
| Dimension | Minimum | Comfortable |
|---|---|---|
| Ceiling height | 8 – 8.5 ft | 9 – 10 ft |
| Room width | 10 ft (offset tee) | 12 – 14 ft (centered tee) |
| Room depth | 10 – 12 ft | 15 – 18 ft |
Ceiling height is the usual dealbreaker: a full driver swing wants ~9–10 ft. Radar monitors (R10, Mevo+) want more depth (18–20 ft) than camera units (GC3, SkyTrak) at ~15 ft.
Source: Golf simulator space requirements, via Shop Indoor Golf.
Three complete builds, line by line
Three real setups at three budgets. Each one is a full parts list (not a teaser) with an honest cost band on every line. Start at the garage build; you can graft the mid and enthusiast pieces on later without throwing anything away.
Garage minimum
Numbers and real practice, no projected screen. A launch monitor, a net to hit into, a mat that survives, and a tablet you already own.
around $700 – $1,200
- Shop on AmazonLaunch monitor (budget radar)$300 – $700
Garmin R10-class radar. Gives you the core numbers and doubles as your distance-measuring tool.
- Shop on AmazonHitting net$150 – $300
A stand-up net rated for full driver speed. This is your impact backstop.
- Shop on AmazonHitting mat$100 – $250
A mat with enough give to take a divot-strike without jarring your wrists.
- Shop on AmazonTablet / phone$0 (use your own)
Runs the monitor's free app. No PC needed at this tier.
Solid mid build
Adds a projected impact screen so you can play courses and see ball flight. This is where a garage starts feeling like a sim.
around $2,000 – $4,000
- Shop on AmazonLaunch monitor (mid)$600 – $1,000
A camera-plus-radar unit with shot tracer video, giving enough data to justify the screen.
- Shop on AmazonImpact screen$200 – $500
A dedicated projection screen rated to take ball strikes.
- Shop on AmazonEnclosure frame$400 – $900
Holds the screen taut and blacks out the surround. DIY frame or a starter kit.
- Shop on AmazonShort-throw projector$500 – $900
Mounted close to the screen so you don't throw a shadow across your shot.
- Shop on AmazonHitting mat$200 – $500
Step up from the garage mat; you'll hit a lot more here.
- Subscription, buy directSoftware subscription$159 – $250 / yr
GSPro or Awesome Golf for course play. Budget this yearly, not once.
Enthusiast build
A more accurate monitor and a properly built enclosure. Not commercial-grade, but a room you'd be happy to practice in every day for years.
around $5,000 – $8,000
- Shop on AmazonLaunch monitor (camera-based)$2,000 – $3,000
A SkyTrak+ / ST MAX-class photometric unit. Tighter data, better for real practice feedback.
- Shop on AmazonPre-cut enclosure kit$1,400 – $2,000
A SIG- or SwingBay-style kit with military-grade screen and blackout walls. Cleaner than a DIY frame.
- Shop on AmazonShort-throw projector$800 – $1,300
A brighter, higher-res short-throw for a crisp projected image.
- Shop on AmazonGaming PC$800 – $1,500
Needed to run GSPro and premium software smoothly.
- Shop on AmazonPremium hitting mat$400 – $700
A quality turf mat with fairway feel that lasts through heavy use.
- Subscription, buy directSoftware subscription$250 – $600 / yr
GSPro or E6 Connect for the full course library.
Amazon links are search links so they never point at the wrong product; prices shown are 2026 category bands, not live listings. As an Amazon Associate we may earn from qualifying purchases.
Enclosure: DIY frame vs. pre-cut kit
The enclosure is the frame and blackout surround that holds your impact screen taut. You have two honest routes. A DIY frame built from steel pipe or PVC and hardware-store fittings runs roughly $400–$900 and is the cheapest way to get a screen up, but you’re measuring, cutting, and tensioning it yourself. A pre-cut kit like a SIG or SwingBay enclosure runs $1,400–$2,000 and ships the screen, frame, and side blackout curtains ready to assemble. There’s roughly a $1,350–$1,700 gap between the two once you’ve bought the DIY hardware; you’re paying that for tension, fit, and a Saturday of your life back.
Either way, the screen has to be rated to take a golf ball at full speed. A bedsheet or a cheap projector screen will tear, and a taut, tensioned surface is what keeps the projected image sharp.
The SIG and SwingBay kits are specialist stock rather than Amazon items. Shop Indoor Golf carries both alongside the impact screens sold on their own, which is the comparison worth making before you commit to cutting pipe: a screen plus your own frame, or the finished kit.
Source: Golf simulator enclosure & kit pricing (SIG, SwingBay, Carl's Place), via Home Performance Lab.
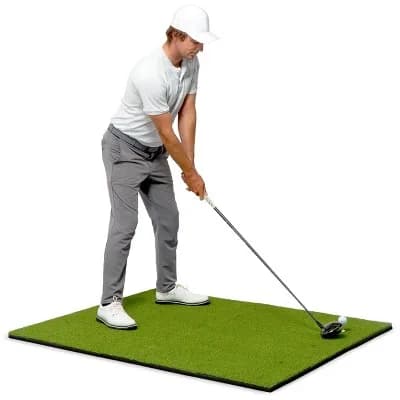
GoSports PRO 5' × 4' Golf Hitting Mat
5 ft × 4 ft artificial-turf mat, 15 mm foam base, 6 teeing positions, includes 3 rubber tees.
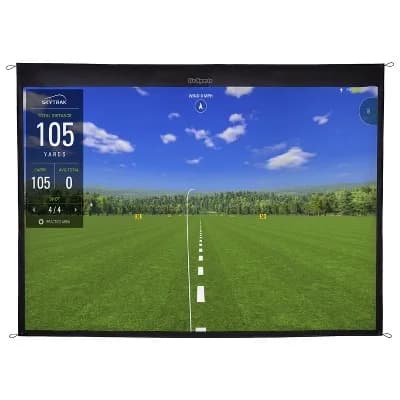
GoSports Golf Simulator Impact Screen
79 × 80.5 in high-density woven-polyester impact screen, 4 corner grommets, projector-ready.
Two of the pieces above, shown. Prices move; the Amazon link shows the live number. As an Amazon Associate we may earn from qualifying purchases. Disclosure.
Software: free options and cheap ones
You don’t have to pay for software to start. Nearly every launch monitor ships a free app that covers range practice and shot data, enough for a garage build. When you want to play real courses, the two budget-friendly picks are Awesome Golf (about $159/yr, or ~$350 lifetime) and GSPro ($250/yr, needs a gaming PC). If you hate subscriptions, TGC 2019 is a $499 one-time perpetual license.
The full software cost table (GSPro, E6 Connect, Awesome Golf and TGC 2019) is on the golf simulator cost breakdown. Recurring pricing verified from published subscription costs.
Common DIY mistakes
- Ignoring ceiling height. The most expensive mistake, because it’s the one you can’t fix with money. Measure for a full driver swing (roughly 9–10 feet) before you buy a single part. An 8-foot ceiling means a net build or a shorter-club routine, and that’s fine if you plan for it.
- Cheaping out on the mat. A hard, thin mat sends the shock of every fat strike straight into your wrists and elbows. Over a winter of practice that’s a real injury risk. Buy a mat with genuine give even if it means a cheaper monitor.
- Projector alignment. Mount a short-throw projector too far back and you’ll throw your own shadow across the screen on every swing; mount it off-center and the image keystones. Plan the mount point before you drill.
- Underspacing the monitor. Radar units (Garmin R10, Mevo+) need more room behind and in front of the ball than camera units. Check your specific monitor’s depth requirement against your room before you commit, not after.
Where to go from here
If you’re still weighing tiers, the full cost breakdown walks the whole range from DIY to commercial. If you want the bird’s-eye view of what a sim even is, start at the build-a-sim hub. And whichever build you land on, the launch monitor is the piece to get right first, so here’s how to measure your distances with it.
Related simulator guides
The rest of the build: cost, components, and whether it fits.
- What a golf simulator costsThe real numbers by tier, from a $700 garage-minimum to TrackMan money, with a line-item breakdown of where it all goes.
- Will a sim fit your room?Enter your ceiling, depth, and width and get a straight answer, graded against the manufacturers' own published space requirements.
- Golf simulator packages by budgetThree complete shopping lists (starter, mid, serious) with every component's role, price band, and what each tier gives up against the next.
- Golf simulator softwareGSPro, E6, Awesome Golf and TGC 2019 by price, platform and which launch monitors each reads.
Buy this piece first
Get the launch monitor right
It’s the brain of every build on this page and the tool that measures your real distances, so it pays off from the first swing, net or screen. Here are the ones worth your money.
See the launch monitors